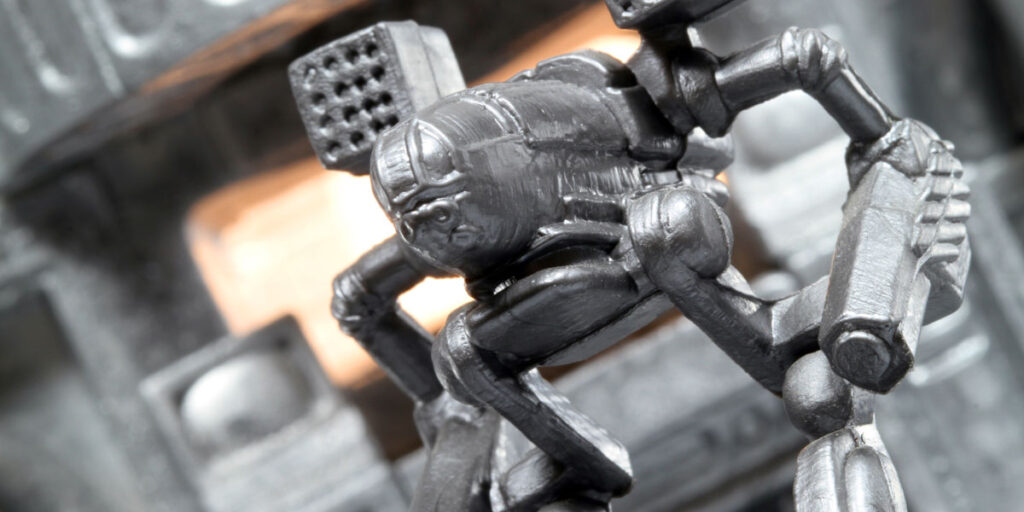
Whether tabletop gaming has been a lifelong passion or something you’ve recently picked up, there is one way to make your next gaming session unique from any you’ve experienced before or any yet to come. If you’re the crafty or artistic type, then you may be interested in how you can make your figurines unique to you and your gaming party. Let’s get the paint and brushes out and talk about painting your mini figures.
Download our Game On! Products Color Guide
The first step to painting mini-figures is to get some subjects to paint. Most Kickstarter games will likely include a collection of unpainted figures. Then you’ll want to find a well-lit, comfortable area with a sturdy desk or table to work at. Shadows can distort your perception and strain your vision.
Now that you’ve got your workspace prepped, you’ll want to make sure your figures are cleaned. Use a mixture of lukewarm water, dish soap, and vinegar. Use a soft toothbrush to scrub broad surfaces and crevices.
When you start working on your figures, you’ll want to prime it. Using primer makes the paint stay in place and it gives a basic color to work from. There are two schools of thought when it comes to primer: do you start with black or white? The argument for using black primer is that if you can’t reach areas with a paint brush, then it would likely represent a shadow anyway, so it will be darker anyway. However, dark primer will take more coats to cover, so using a lighter primer is better for fine details. So, in sum, dark primer can be better for beginners and light primer can be advantageous for a more skilled hand. Either way, the key is to use several thin coats to maintain the integrity of the fine details.

Most Kickstarter games will likely include a collection of unpainted figures.
If you spend more time priming the figures, you’ll build a better base for the paint to adhere to. So, if you spend a little more time priming your mini-figures, you won’t need to spend as much time painting, and the less time you have to spend painting, the less likely you are to make a mistake.
If you’re a veteran of painting mini-figures, you probably know the torment of accidentally knocking over a figure because of the force of the spray. Avoid this by using a bit of sticky tack under the model to hold them down so you won’t knock over the model.
Now that the model is ready, it’s time to start painting. You will want to use acrylic model paint. Before you begin you will want to thin your paint. There are a few ways to do this, but for novices, using water will do fine, but if you’re more practiced, you may want to use something more sophisticated like proper paint thinner. You’ll want the paint to be about the consistency of milk unless you’re using a technique known as dry brushing. You’ll want to use several thin coats to achieve a solid color.
There is one key, be sure to thoroughly and completely wash your brushes before loading it with paint and after you’re done painting.
Now that you’re done painting, let the figurines dry and they’re ready for action. Have fun!

